Short answer: Inspect both washer inlet hoses from faucet to machine for bulges, kinks, cuts, abrasion, corrosion, and moisture. Replace a damaged hose immediately and use the interval in your exact owner’s manual; Whirlpool, for example, recommends replacement after five years. The highest-value move is a two-minute visual inspection and a recorded installation date; replacing a visibly damaged or overdue hose is more useful than waiting for the first drip.
Replace or call for service now if
- A hose has a bubble, split, deep crease, exposed braid, soft spot, or active seep.
- A coupling or wall valve is heavily corroded, seized, or leaking from the valve body.
- The washer must be lifted, stacked equipment moved, or cabinetry removed for access.
- Water is near an outlet, plug, extension cord, or damaged appliance wiring.
What the inlet hoses do
Most US washers use separate hot and cold supply hoses between wall faucets and labeled inlets on the machine. Port positions vary by washer type and age, so do not rely on a generic diagram. GE’s support guidance shows that the locations differ across conventional, compact, unitized, portable, and older machines; the installation manual for the exact model is the controlling reference.
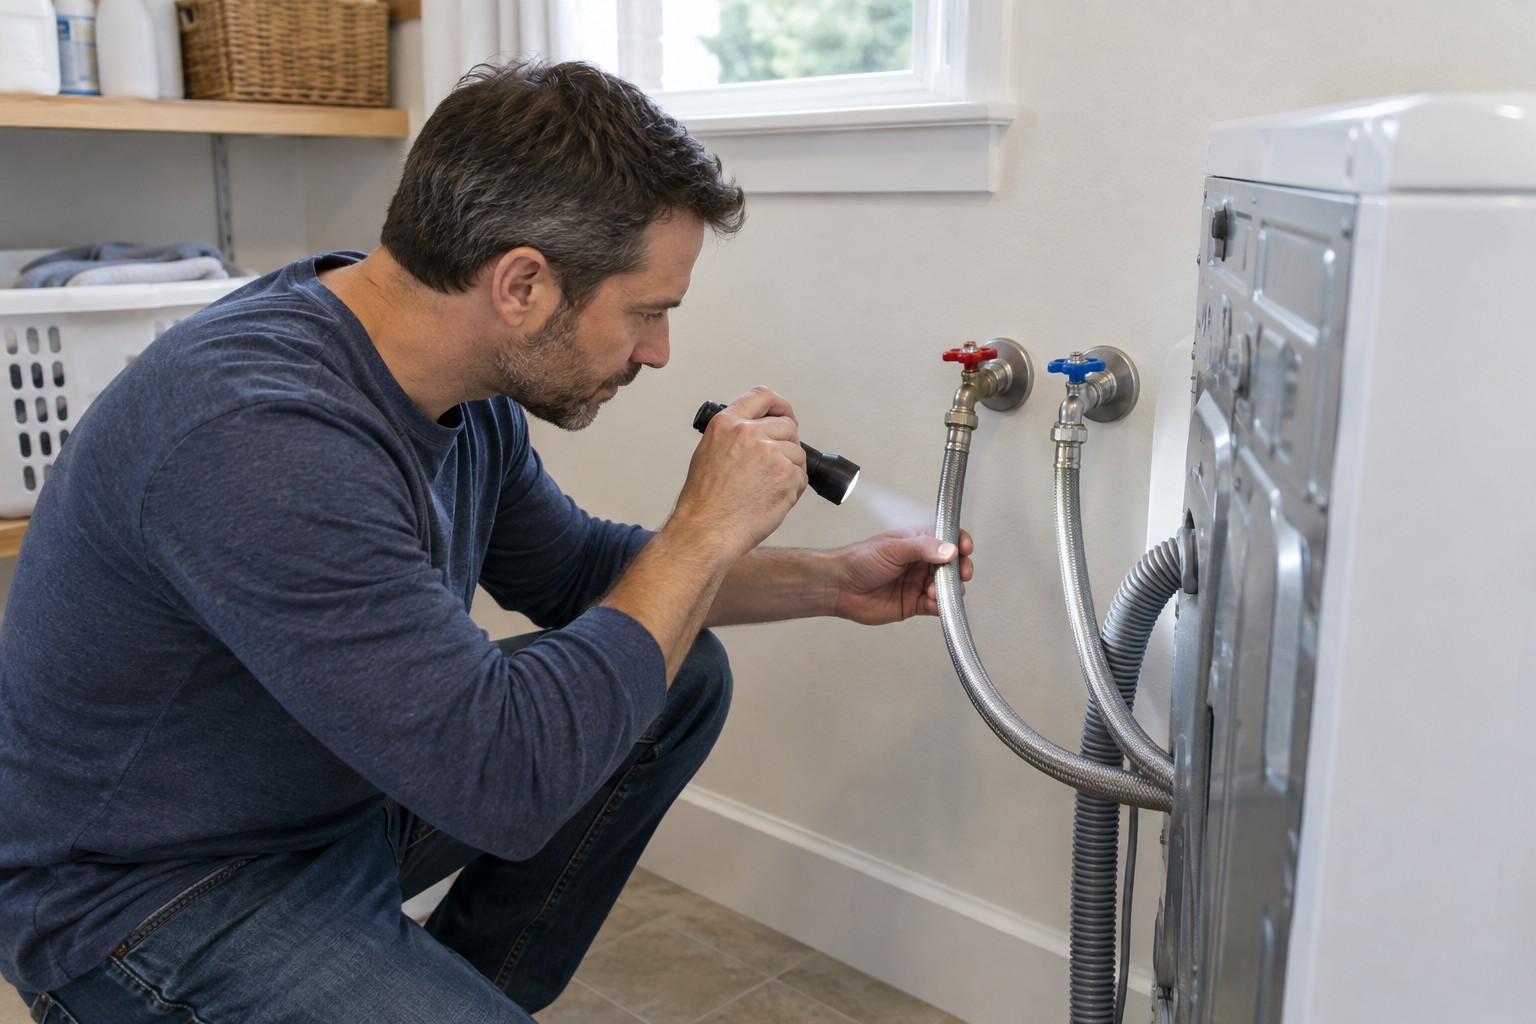
How to inspect washer hoses
- Stop the washer. Finish or cancel the cycle and disconnect power before reaching behind it.
- Use light, not force. Inspect with a flashlight. Do not pull a heavy or stacked appliance beyond what the installation permits.
- Follow each hose. Look from the wall faucet to the washer inlet for bulges, cuts, abrasion, sharp bends, crushing, rust, and dampness.
- Check every coupling. Wipe it dry, then look again for a fresh bead of water. Moisture may come from the faucet stem or valve body rather than the hose.
- Find the date. Check the hose label or your home-maintenance record. If the age is unknown, compare it with the model manual and condition rather than assuming it is new.
When should hoses be replaced?
There is no universal interval that overrides the appliance manual. Whirlpool’s current guidance and example manuals use five years to reduce hose-failure risk and call for earlier replacement when bulges, kinks, cuts, wear, or leaks appear. Record the installation date on the replacement hose or in your home inventory so the next decision is based on evidence.
A braided exterior is not permission to ignore age or damage. Inspect the complete assembly, especially the couplings and the points where the hose bends behind the washer.
Safe replacement sequence
- Read the exact washer installation instructions and obtain the specified new hoses and flat washers.
- Disconnect power and close the known hot and cold washer faucets. Stop if either valve is seized, leaking, or unidentified.
- Place towels and a shallow container below the connections; trapped water will remain in the hoses.
- Disconnect the old hoses without twisting the appliance valves. Confirm an old washer is not stuck in a fitting.
- Install new flat washers and seat each coupling by hand. Follow the manual’s tightening instruction exactly.
- Do not add thread tape or sealant unless the manual explicitly requires it. Whirlpool warns that overtightening or using tape or sealants can damage its washer valves.
- Open the faucets slowly and inspect all four connections. Dry them and check again for new moisture before restoring the washer to position.
- Run the manual’s installation or test procedure, then inspect again after the first load.
Hot and cold must stay correctly identified
Connect each hose to the port and faucet identified by the washer manual. Reversed hoses can produce unexpected cycle temperatures, while some machines require both supplies to operate correctly. If the markings are hidden or the plumbing does not match the manual, stop and use a qualified installer.
What to do before a long trip
Whirlpool advises turning off the washer water supply during extended non-use to help avoid unintended flooding from a pressure surge. Use only the known washer faucets, and do not force a valve that does not operate normally. If shutting the valves creates seepage around the stems, arrange repair rather than repeatedly working them.
Do not turn a hose check into a plumbing repair
Replacing accessible hoses is a limited connection task, not authorization to rebuild a corroded valve, repair hidden piping, modify a drain, or move stacked laundry equipment. Call a qualified professional when the shutoffs leak, the appliance cannot be moved safely, the fittings are damaged, or the floor and wall already show water damage.
The practical bottom line
Inspect both hoses now, record their age, and replace any damaged assembly using the exact manual and new sealing washers. Continue with front-load washer cleaning, review safe leak checks before calling a plumber, or browse the Maintenance hub.
Sources
These official references were used for the factual guidance and limits above.